10 House Painting Tips for a Fresh New Look
A fresh coat of paint is one of the easiest ways to transform any room, whether you’re preparing your home for sale or simply want to enjoy a new look. These 10 expert tips cover everything from prep and tools to color choices and finishing touches, helping homeowners achieve professional results with confidence.
8/12/20253 min read
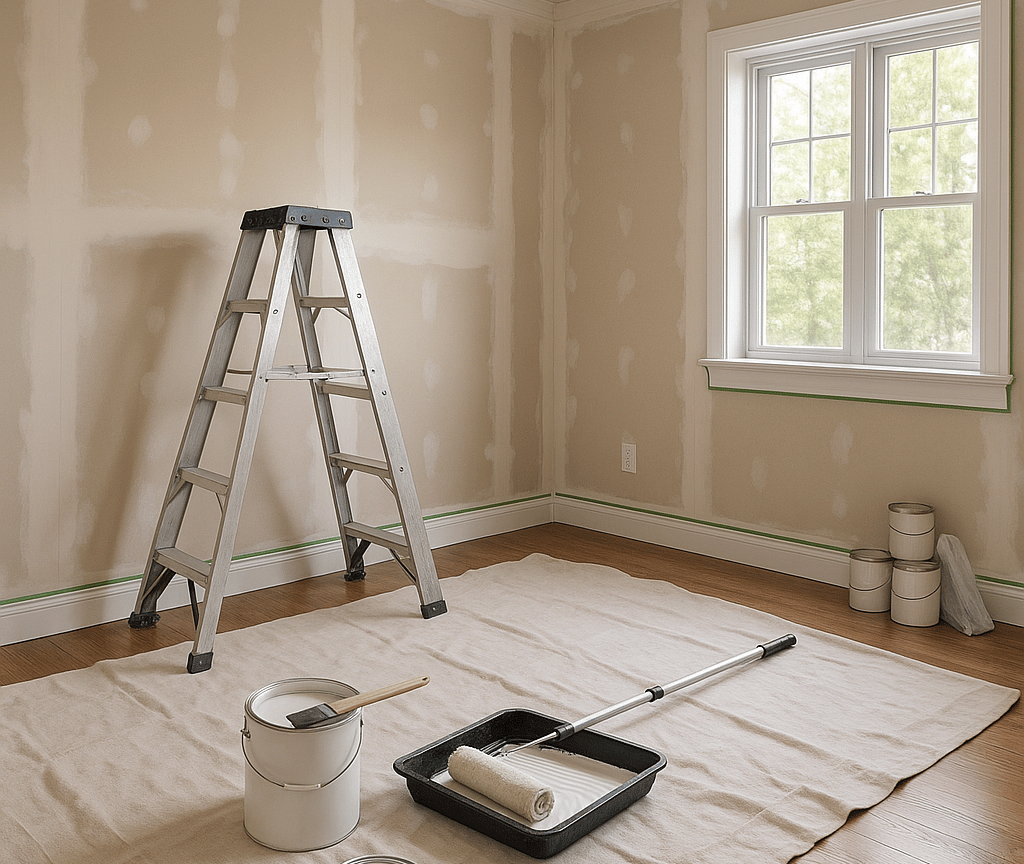
Painting a room is one of the fastest and most affordable ways to give your home a makeover. Whether you’re sprucing it up for your own enjoyment or getting ready to put it on the market, a fresh coat of paint can completely change the feel of a space. I’ve spent years with a brush in hand, and along the way I’ve learned what works—and what makes people wish they had slowed down and done it right. Let’s walk through ten painting tips that will make your next project easier, cleaner, and more satisfying.
1. Start with a Clean Slate
Imagine trying to stick tape to a greasy stovetop. It won’t hold, right? Paint works the same way. Dust, grease, and even fingerprints will keep fresh paint from bonding properly. A simple wash with warm soapy water (or a degreaser in kitchens and bathrooms) will go a long way. Wipe it down, let it dry, and you’ve already set yourself up for success.
2. Patch and Smooth Before You Paint
Paint is like a spotlight for flaws. Those nail holes and hairline cracks you thought would disappear? They’ll look bigger once the wall is freshly painted. Take a few minutes to fill holes with spackle, sand rough patches, and feather out edges so the wall feels smooth to the touch. The better the prep, the better the payoff.
3. Tape Like a Pro
Painter’s tape isn’t just for perfectionists—it’s for anyone who wants clean, crisp edges without stress. Press it down firmly along trim and corners. One pro tip: peel it off while the paint is still just a little damp. That’s how you get those razor-sharp lines that make the room feel finished.
4. Buy the Good Tools (Trust Me)
I know it’s tempting to grab the cheapest brush or roller on the shelf. But here’s the truth: good tools make the job easier and the results better. A solid angled brush helps you “cut in” around edges neatly, while a quality roller spreads paint more evenly and faster. Cheap ones can shed bristles or leave streaks, and then you’re fighting the tools instead of enjoying the project.
5. Don’t Forget the Primer
Primer doesn’t always feel exciting—it’s an extra step when you’re itching to see the new color. But it can be the difference between a wall that looks professional and one that looks patchy. If you’re painting over a dark color, covering stains, or working with fresh drywall, a coat of primer will make your topcoat shine. Think of it as giving your paint a smooth runway to land on.
6. Pick the Right Sheen for the Room
Flat, eggshell, satin, semi-gloss… it’s not just about looks, it’s about durability. Flat finishes are great at hiding flaws but scuff easily. Eggshell and satin are my go-to for most living spaces—they balance beauty with cleanability. Semi-gloss and gloss are your best friends in kitchens, bathrooms, and on trim where you need a surface that can stand up to scrubbing.
7. Test, Don’t Guess
Paint chips in the store are like online dating profiles—they don’t always tell the whole truth. A beige that looks calm in the store might turn pinkish in your living room light. Buy a small sample can, paint a few big patches on the wall, and watch how the color changes throughout the day. You’ll thank yourself later.
8. Roll With the “W” Method
When rolling, skip the straight up-and-down stripes. Start with a big “W” or “M” shape on the wall and then fill it in without lifting the roller. This spreads paint evenly and avoids heavy lines. Keep a “wet edge” by working in sections and overlapping slightly so you don’t end up with lap marks.
9. Be Patient With Drying Time
The hardest part of painting isn’t the painting—it’s the waiting. If you rush on a second coat before the first one has dried, you’ll end up with peeling or uneven patches. Most paints need at least two to four hours between coats. It’s worth the wait to get that silky smooth finish.
10. Don’t Forget the Trim and Ceiling
People often focus only on the walls, but trim and ceilings are like the frame around a picture. A fresh white ceiling makes the room look taller and brighter. Crisp, semi-gloss trim makes the color pop and adds a polished feel. These finishing touches take a room from “pretty good” to “wow.”
Bringing It All Together
Painting is one of the most satisfying DIY projects you can do. It doesn’t just change the look of a room—it changes how you feel when you walk into it. And the best part? You don’t need fancy equipment or years of training, just some patience, preparation, and the right approach.
Before you grab that brush, here are a few questions to ask yourself:
Have I cleaned and prepped the walls so the paint will stick?
Do I need primer for this project, or will paint-and-primer-in-one be enough?
What finish makes the most sense for this room?
Have I tested the color in different lighting?
Am I willing to take my time for the best results?
Answer those honestly, and you’ll be well on your way to transforming your space into something fresh, inviting, and ready to impress—whether for yourself or a future buyer.
dpcustomsny@gmail.com
585-820-7022
© 2025. All rights reserved.